Fall is around the corner and soon we will have crisp air, changing leaves and cool nights. It will be the perfect weather to snuggle up in a blanket and watch some football.
To do this you’re going to need some blankets and a spot to put them! Keep reading to see how to make this super easy $10 DIY blanket ladder with just a few supplies and a few 2x4s. It’s the perfect place to hold your fall blankets, and this farmhouse inspired ladder is the also the perfect spot to decorate with some fall knick-knacks, too. Let’s get started!
DIY Blanket Ladder Tutorial
For this project you will need:
- 2×4 boards (3)
- Miter saw
- Nail gun
- 2-inch nails
- Wood stain
- Wood glue
- Triangle
- Sander
- Sandpaper
- Tape measure
- Clamps
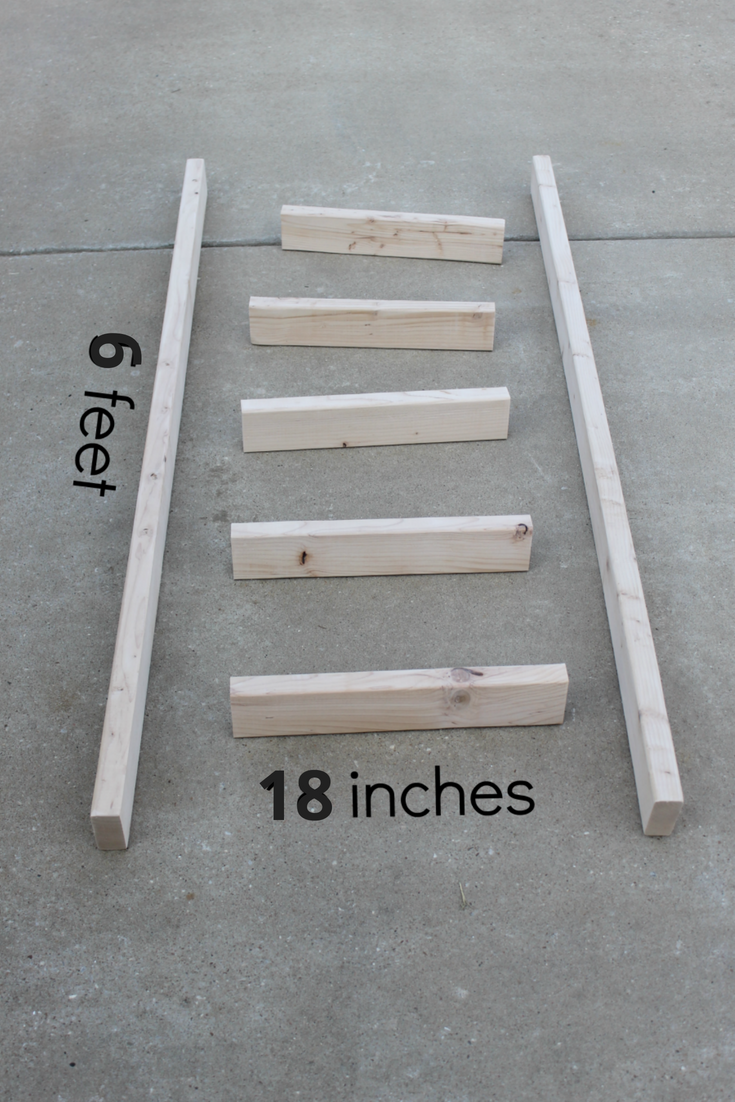
Step 1: Cut your wood.
*Remember to follow all safety precautions and wear protective eyewear when using power tools. Build at your own risk.
Cut two 6-foot pieces for the sides of your ladder and five 18-inch pieces for the rungs.
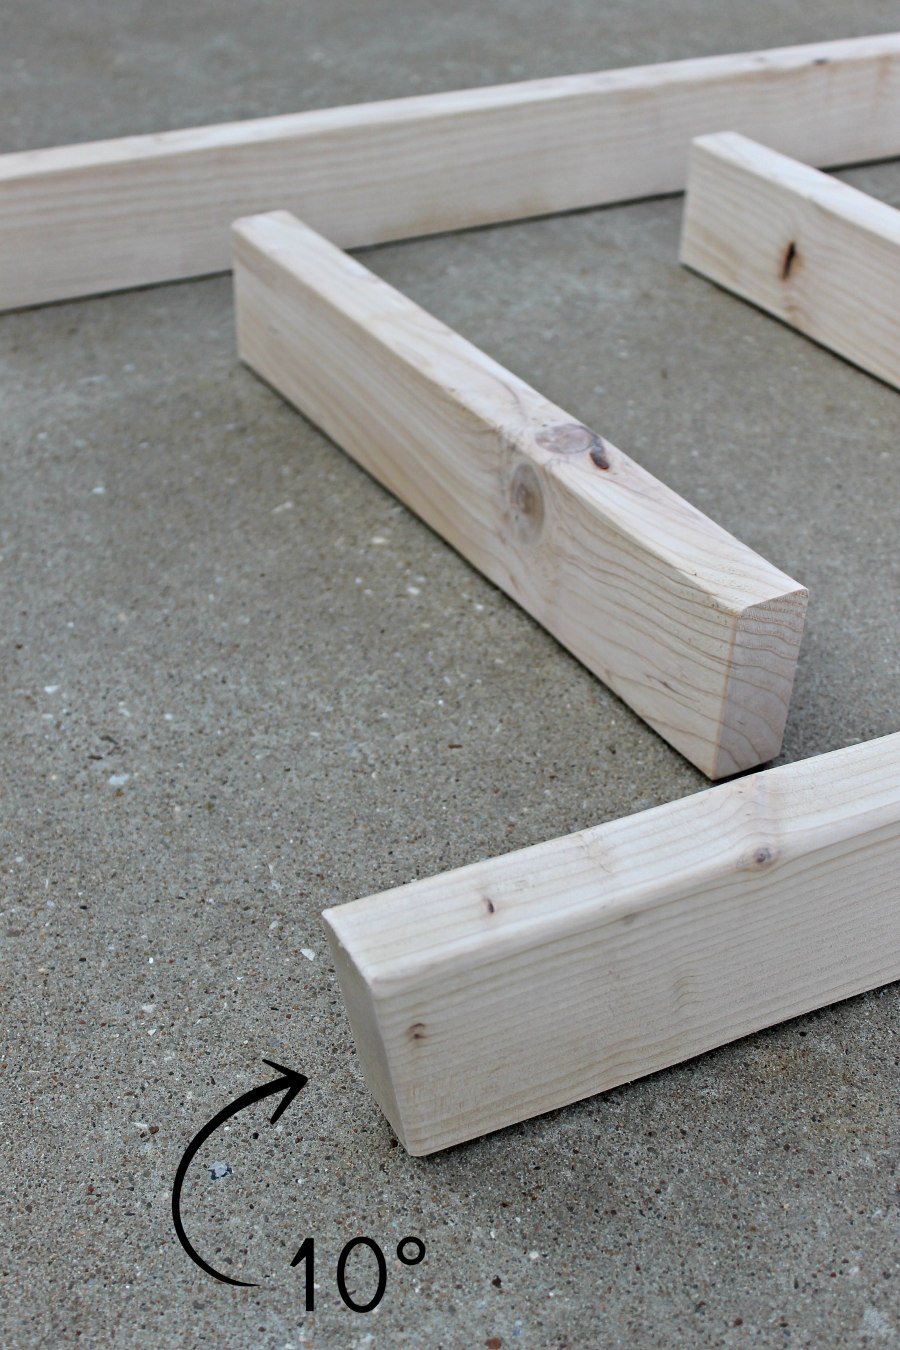
Next, you’ll want to angle the bottom of the 6-foot sections to 10°. You need to do this so it will be flush and level when you lean your blanket ladder against the wall when it’s finished.


Step 2: Sand your wood.
After you cut all the wood, sand all the surfaces paying special attention to the ends that were cut until they are all nice and smooth. For a more worn look, round all the sharp edges with the sander if you’d like.

Step 3: Assemble your blanket ladder.
Next, you will use a tape measure to mark 12-inch increments along both sides of your 6-foot pieces. These will be the spots you will nail in your rungs.

Before nailing in the rungs, apply a little bit of wood glue on each end. Once the wood glue dries, it will really be what is holding your blanket ladder in place.

When your ladder is leaning against the wall, you want your rungs to be level and straight. When your rungs are level you will able to sit knick-knacks on them and hang your blankets on the ladder and everything will look nice and straight. That said, your rungs need to be angled at 10° when you nail them in.
To do this we grabbed the scrap piece of 2×4 that we had cut off the legs in the second part of step 1.

You’ll wedge that tiny scrap piece in place using a triangle as a guide. This is an easy way to make sure you have the right angle without having to measure it over and over again for each rung. Then you’ll pop two or three nails into each end of the rung using a nail gun. Repeat for each rung.


Step 4: Clamp your ladder.
To hold everything in place, use two large clamps. Set aside and wait! You’ll want your wood glue to dry a good 24 hours.

Step 5: Stain (or paint) your ladder.
This is my favorite step. The transformation is fast and amazing! After your wood glue has dried, it’s time to stain your blanket ladder.
Be sure to sand off any spots where the wood glue might have leaked out when you clamped your ladder. The stain will not adhere if there is any wood glue residue.
I love this dark walnut stain. You could also paint your ladder if you’d like to go that route. A distressed painted ladder would look amazing as well.

Since this stain was so dark, I only needed one coat. I used an old rag, dipped it in the stain and rubbed it in until I had a nice smooth finish. Tip: Always use rubber gloves when staining. You don’t want to stain yourself!

Let it dry, and then it’s time to accessorize your ladder. Hang a wreath, add a few knick-knacks, and of course, a blanket or two!


I just love the warm, cozy farmhouse feel this ladder adds to my home!

Try This DIY Blanket Ladder Today
Grab a few supplies, squeeze out a little bit of time and you can make your own DIY blanket ladder in under 30 minutes (minus the dry time!).
It’s important to note, (since my kiddos have asked) you cannot actually use this decorative blanket ladder as a functional step ladder. It’s not made for people, just blankets. The wood glue is strong, but not that strong!
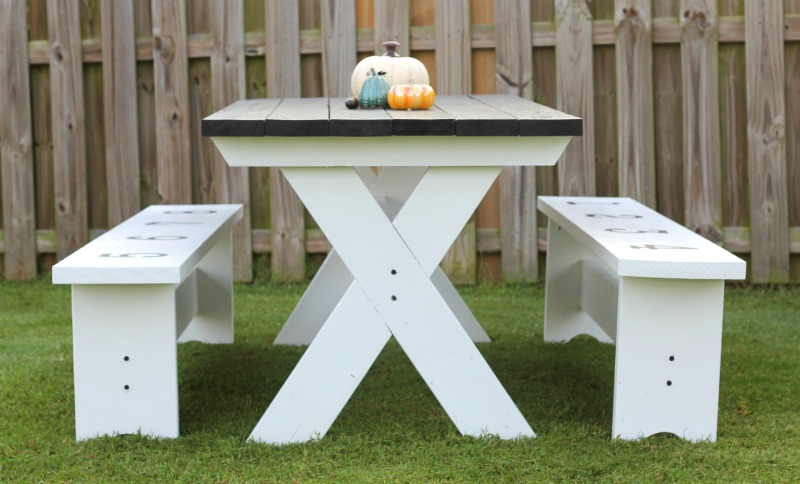
However, if you did want to make it that strong, you would need to use wood screws to assemble your ladder. You could even use decorative screws like the ones used in this farmhouse picnic table. Climb at your own risk though!
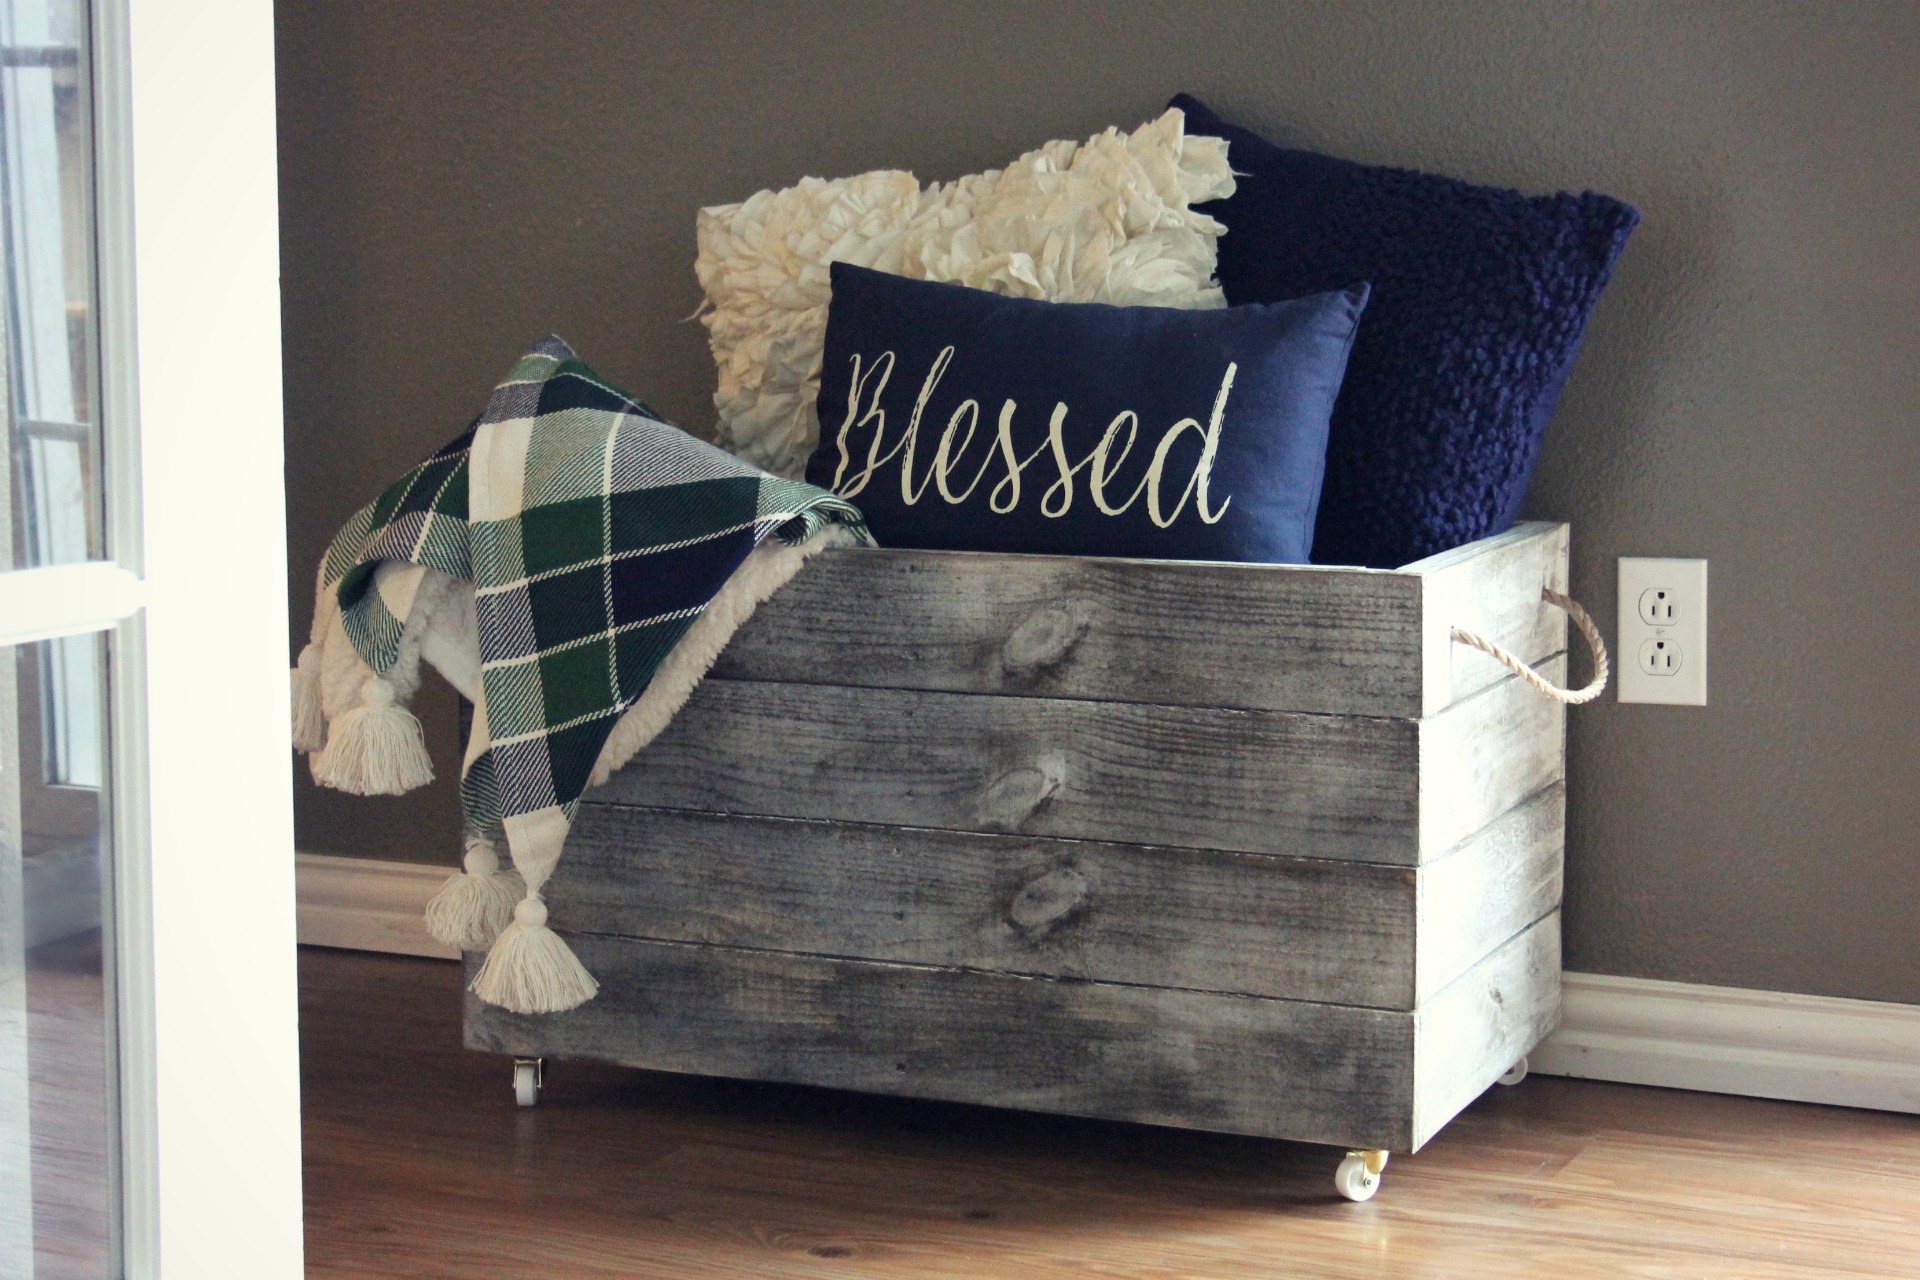
Let me know if you have any questions in the comments below! Happy DIY-ing! For more farmhouse inspired projects be sure to check out this amazing DIY Modern Farmhouse Table and for more 2×4 projects check out this easy storage bench.
This post was first published on 9/25/2017, was revised on 5/4/2018, and updated on 9/23/2022 to provide new information.
[mks_button size=”large” title=”Leave a Comment” style=”squared” url=”/blog/diy/diy-blanket-ladder/#disqus_thread” target=”_self” bg_color=”#1e73be” txt_color=”#FFFFFF” icon=”” icon_type=””]